
By enabling the filters feature and adding a search filter widget to the website’s sidebars (widgetized areas), visitors can refine content and search results by one or more taxonomy terms, meta fields, and date ranges. Elasticprobe filter widgets are available for the Gutenburg page editor.
Enabling “Filters” in ElasticProbe Plugin
- Log into your WordPress admin area (e.g.,
https://yourdomain.com/wp-admin). - Locate ElasticProbe in your list of installed plugins from the sidebar and click on it.
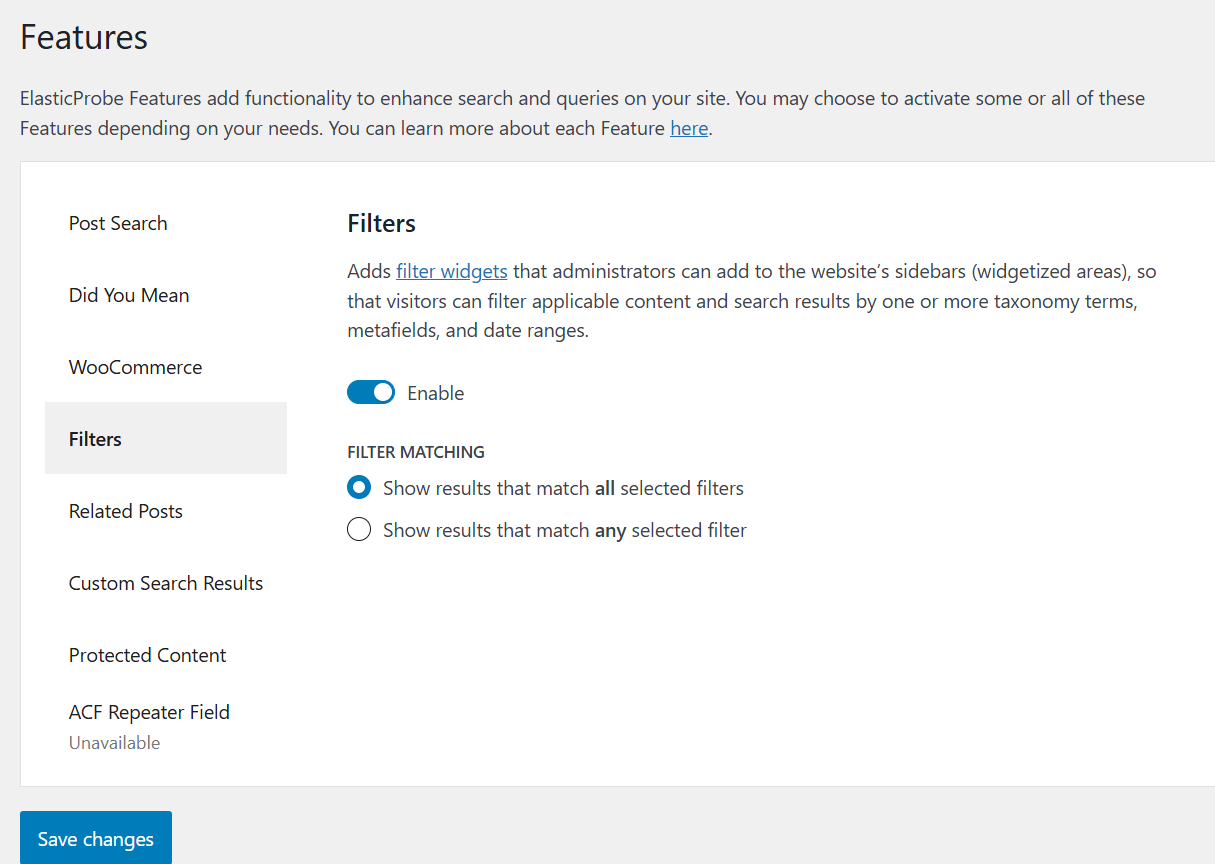
- Navigate to the Filters And Enable it.
- You can also define how filters behave using the Match Type setting:
Show results that match all selected filters: This setting narrows down results, showing only posts that meet every chosen filter—ideal for drilling into more specific content.
Show results that match any selected filter: This broadens the search, displaying posts that meet at least one of the selected filters, which may increase the total number of results.
- After enabling, continue reading this document for additional configuration steps.
Adding Search Filter Widget
If you are using the Gutenberg page builder to design your website, you can use the following method to add ElasticProbe search filter widgets to the default search results page.
- Log into your WordPress admin area (e.g.,
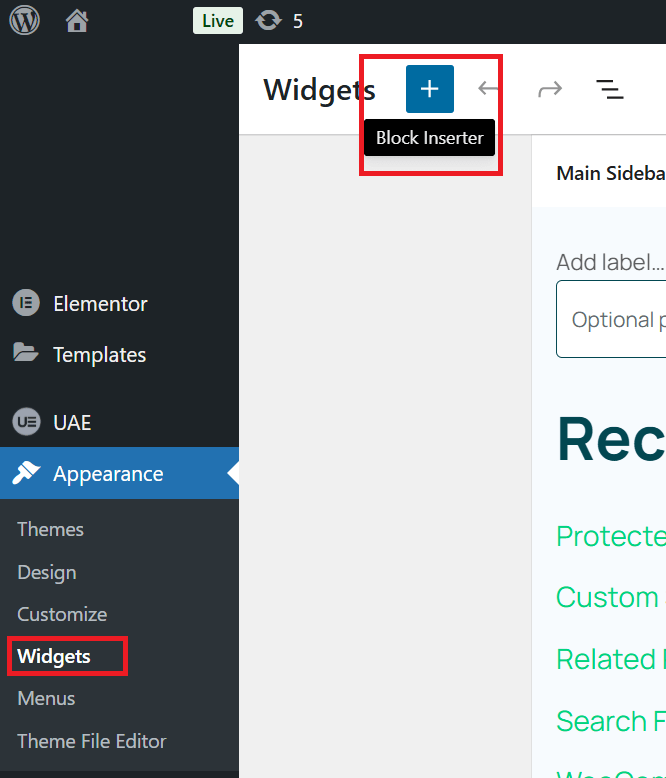
https://yourdomain.com/wp-admin). - Locate the Appearance in sidebar
- Click on Widgets
- Click on Block Inserter or Add block
- Type ElasticProbe to see all filters.
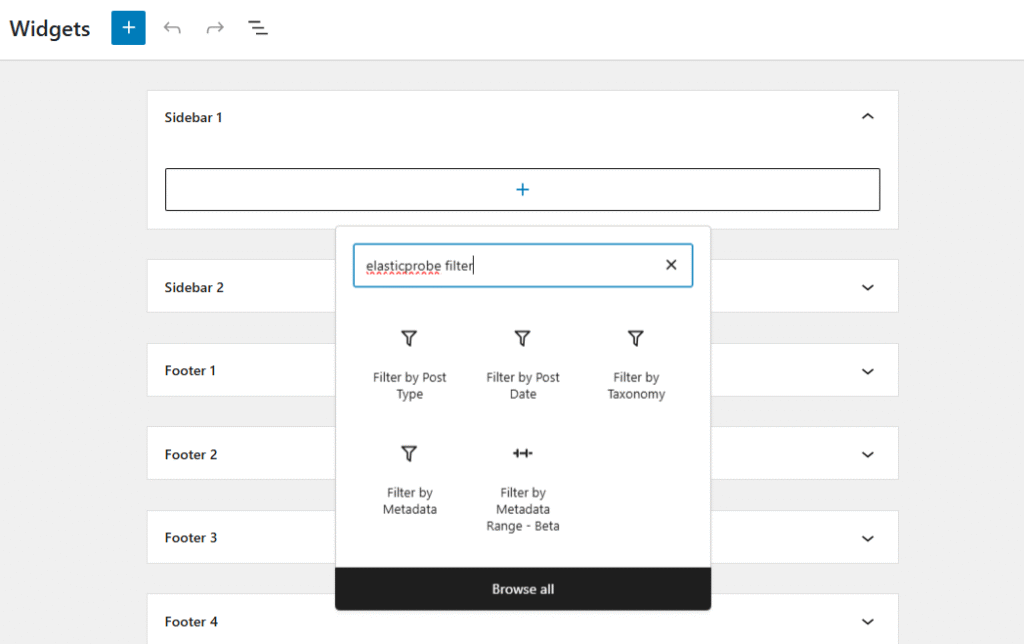
The image above shows the Widgets page when using the Kadence theme. The Widgets page may look slightly different depending on the theme you are using.
If your Widgets page looks similar to the image above, you can:
- Choose your preferred filter and add it to the Sidebar widget area and save it.

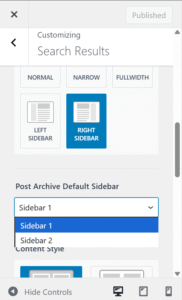
- Depending on your active theme, you may have options to modify the appearance of the search results page. These options are located under Page Settings. The image below shows the settings for the Kadence theme.
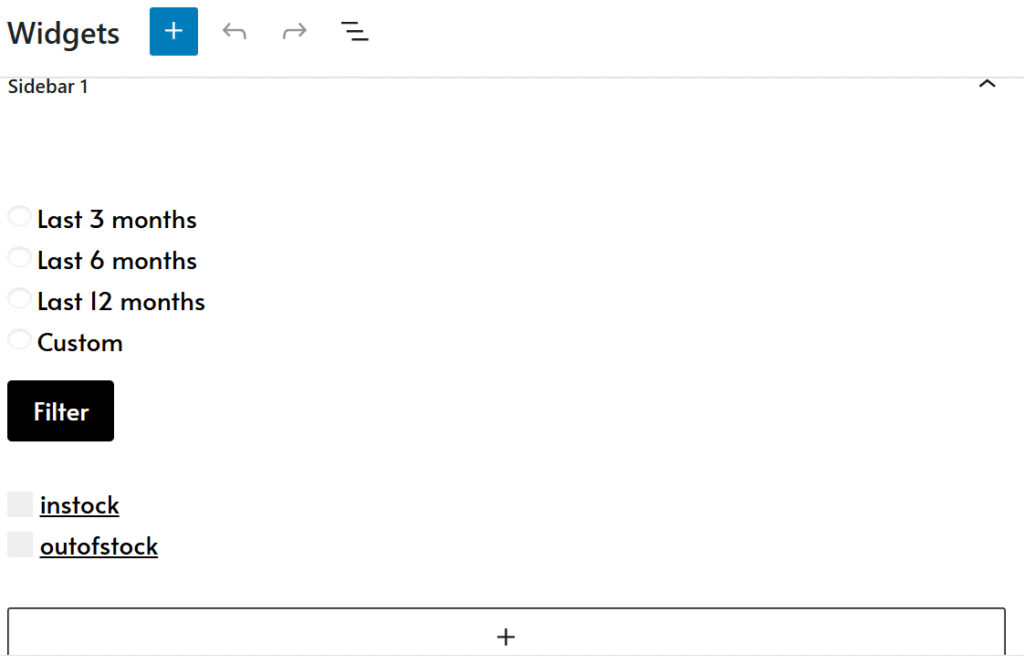
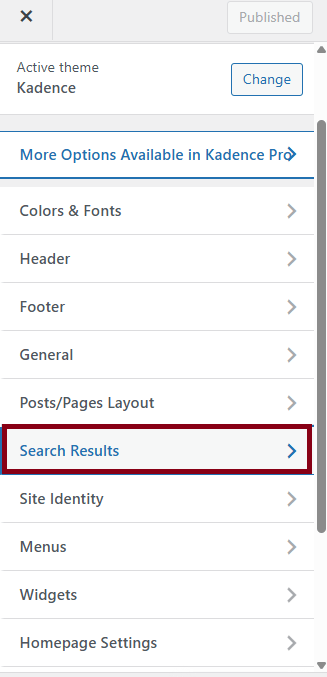
- Choose the sidebar you customized to display on the search results page.
 To test, enter a search term and go to the results page with filters by visiting:
https://yourwebsiteaddress/?s=SearchTerm
 To test, enter a search term and go to the results page with filters by visiting:
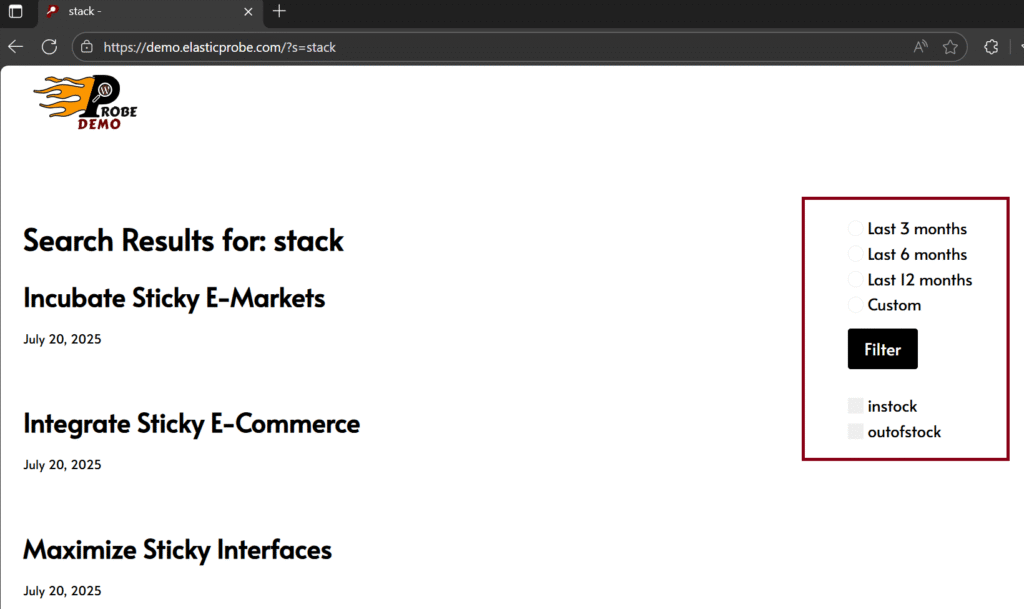
If you build your own search results page, you can easily add a filter widget using the same approach.